Showing posts with label seating. Show all posts

Sunday, August 2, 2015

Patchwork Project

For Christmas last year, my dad gave me two bookshelves for my living room and some gray chevron wall paper from Target that I wanted to use to cover the backs of my shelves. It was so easy to do, and it turned out just how I pictured.


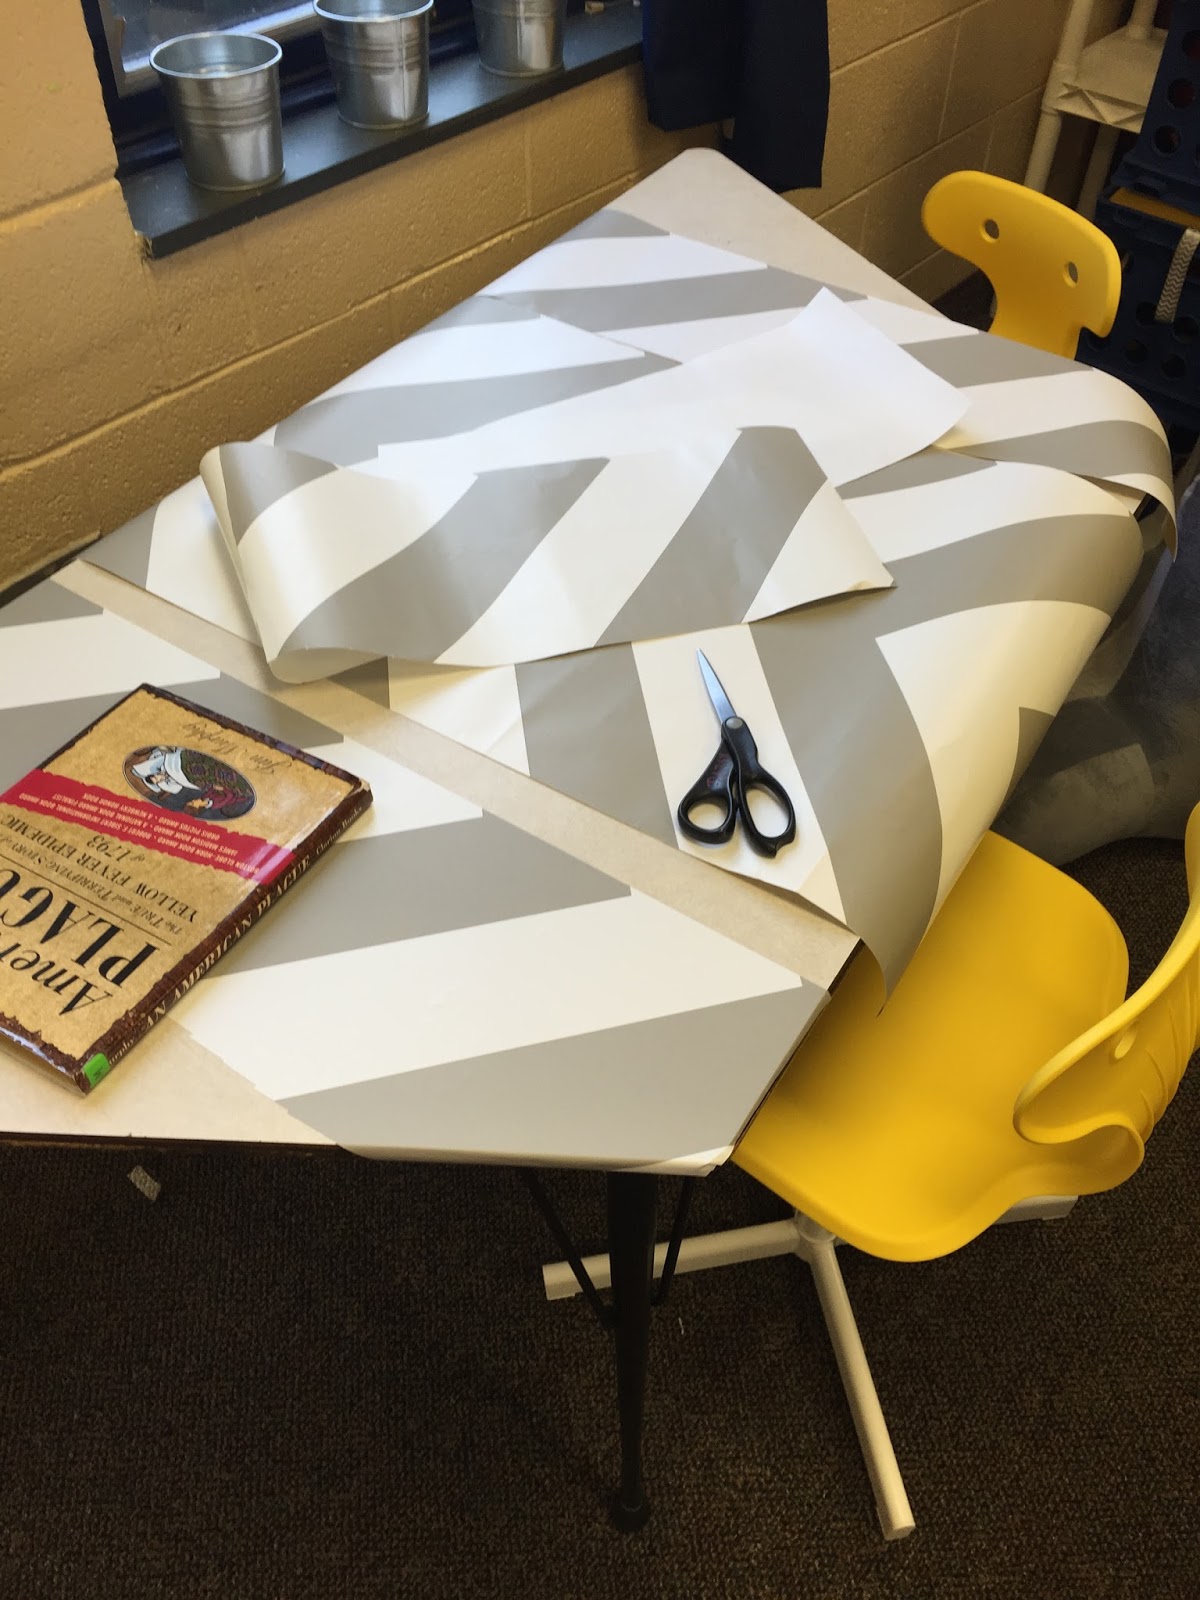
I had about half a roll and lots of scraps leftover, so I wanted to try to use it in my classroom. I decided to cover the tops of my two trapezoid tables to add some color to those dull tables.


Unfortunately, because I was patching scraps together, this project wasn't quite as easy as the bookshelves were, but I managed! 

I started by taking the largest pieces I had leftover and piecing them together on top of the table. I used a book and yard stick to help roll the paper out flat as I peeled off the backing. I still ended up with some bubbles, but it isn't too bad. 

Hint - Once you stick the wallpaper on, if there are bubbles, just roll with it. It gets way worse when you try to peel it back up and restick it. 


It isn't perfect, but I still love the way it turned out!


The only thing I wasn't super excited about was the look of the unfinished edges. (Ignore all those bubbles, ha!) 


To cover that up, I got some blue duct tape (only $2 with a 50% coupon from Michaels!) to place around the edges of the table. 


 I am so happy with the way it turned out!


Tuesday, July 28, 2015

The "No Sew" Pillow

It's been a while since I've posted...but I'm back!

This year I've decided to remove all the desks from my room and embrace "alternative seating" options. I'll have a few tables with stools and fun chairs from Ikea, but mostly I plan to have low, small tables with crates and pillows. We'll see how it goes....I told my principal that my type A & OCD personality may absolutely hate it and need my desks back asap, but I wanted to give something new a try.

At the end of the year last year a coworker gave me two throw pillows she was getting rid of from her classroom. I figured I could give them a fresh look with some new pillow cases. With only (sigh) two-ish weeks until we're back in action, I decided to get going on the pillows.

I am NOT a seamstress by any stretch of the imagination, so when I saw these No Sew Pillows on Pinterest, I thought, "That can't be too hard!"

I found some fabric at WalMart that matches my color & pattern scheme (navy, yellow, gray, & chevron), and I guestimated that I'd need a yard for each pillow. Because the pillows have a dark and busy pattern on them already, I also got a yard of white for each pillow to act as a color buffer.


Hindsight is 20/20, and I should have measured the pillow and read the Pinterest directions a little more before heading to the store. Once I started folding the fabric per the directions, I realized a yard was not enough material. So, I had to do what all great teachers do - monitor and adjust! 

I first folded the pillow in the white fabric like I would wrap a present. Once that was folded, I placed it in the center of the chevron fabric. I folded the top and bottom of the chevron fabric to meet in the center of the pillow like shown above. 


Next, I folded the corners over like I do when wrapping a present. According to the directions I was attempting to follow, this would be the stage you bring both corners to the center to tie a knot. Unfortunately, my corners weren't long enough. 


I decided I could at least sew a button, so my "no sew" pillows became "almost no sew" pillows. I found these large wooden buttons at Michaels for .29 each. (P.S. They have a teacher discount and always have a great coupon on their app!) I painted them yellow and used them to connect each of the corners I folded into the center of the pillow. Just a few stitches, and I have two new pillows! 


Thursday, August 9, 2012

The Crate Seat Craze

It seems like the crate seat is all the craze in classrooms right now. I first saw the idea on Pinterest (of course), and I knew I needed to have some of my own! Soliciting the handyman skills of my little brother, we headed to WalMart and Lowe's, gathered some materials, and set to work! (I cut the material, and he did everything else!)

They were super easy to make, and I love that it can be seating, storage, AND used as a lap board if you pull out the cushion and flip it over!

Here is the list of materials I bought/gathered:

1. 5 crates
2. 3/4 yard of fabric for each crate
3. one full mattress pad (used this for cushion instead of stuffing!)
4. staple gun with staples
5. red duct tape
6. one sheet of plywood (cut into 5 pieces just the right size for the crates by a sweet man at Lowe's!)
7. one roll of red ribbon (to use as handles)